
# Using a Service
You can use any PlanQK Service and its underlying HTTP API by subscribing to it with a PlanQK Application.
NOTE
Examples showing how to work with PlanQK Services (e.g., via Jupyter notebooks) can be found in this (opens new window) repository.
There are two ways to subscribe to a service. One is to subscribe to an internally published service, the other is to subscribe to a service that has been published on the marketplace.
# Subscribe to an Internally Published PlanQK Service
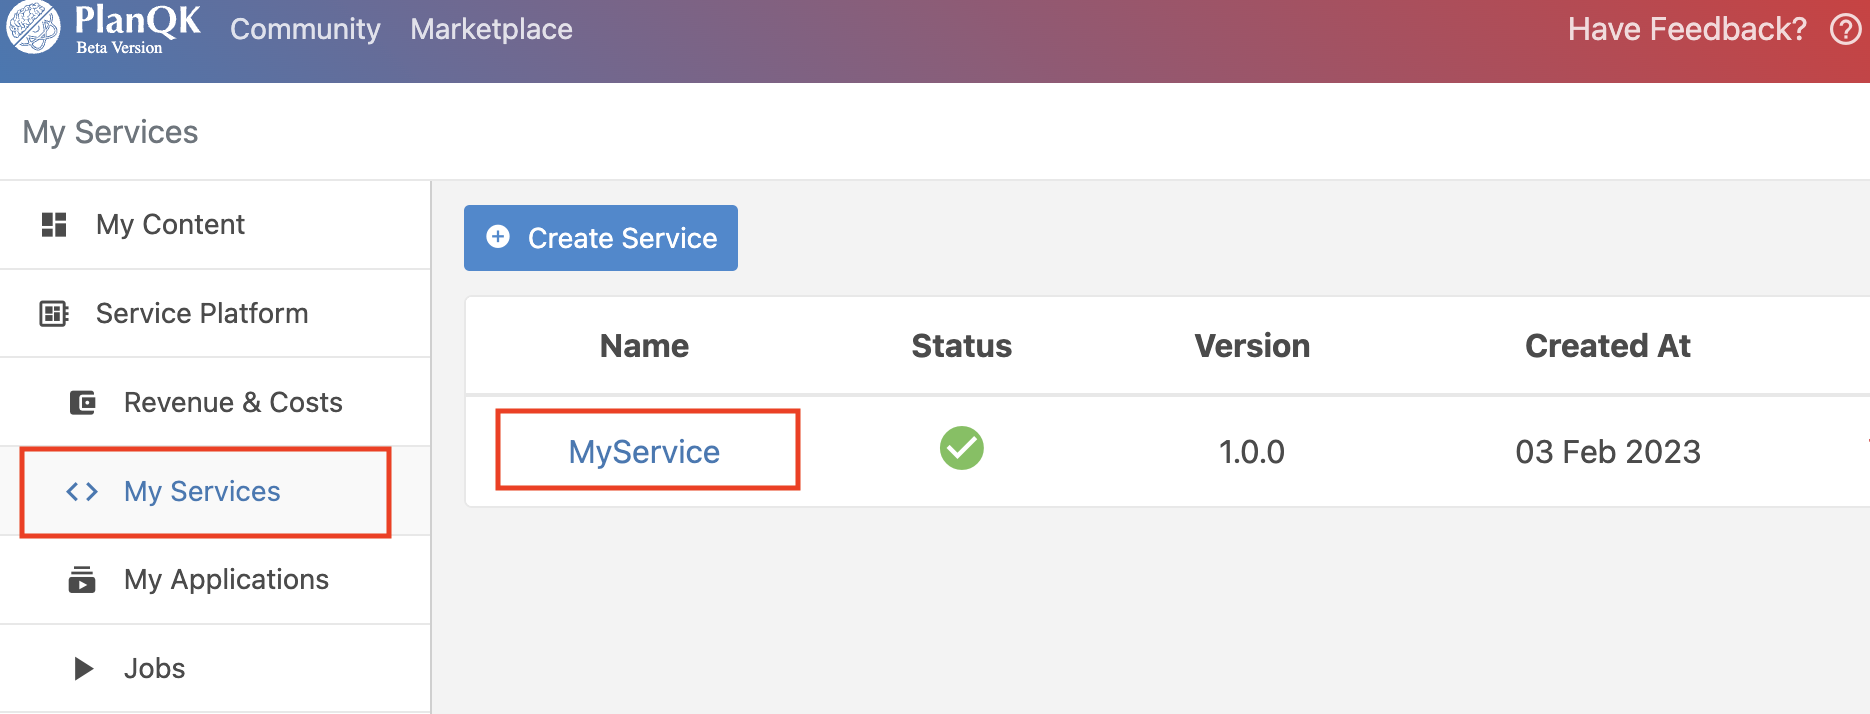
Navigate to the details page of your service.
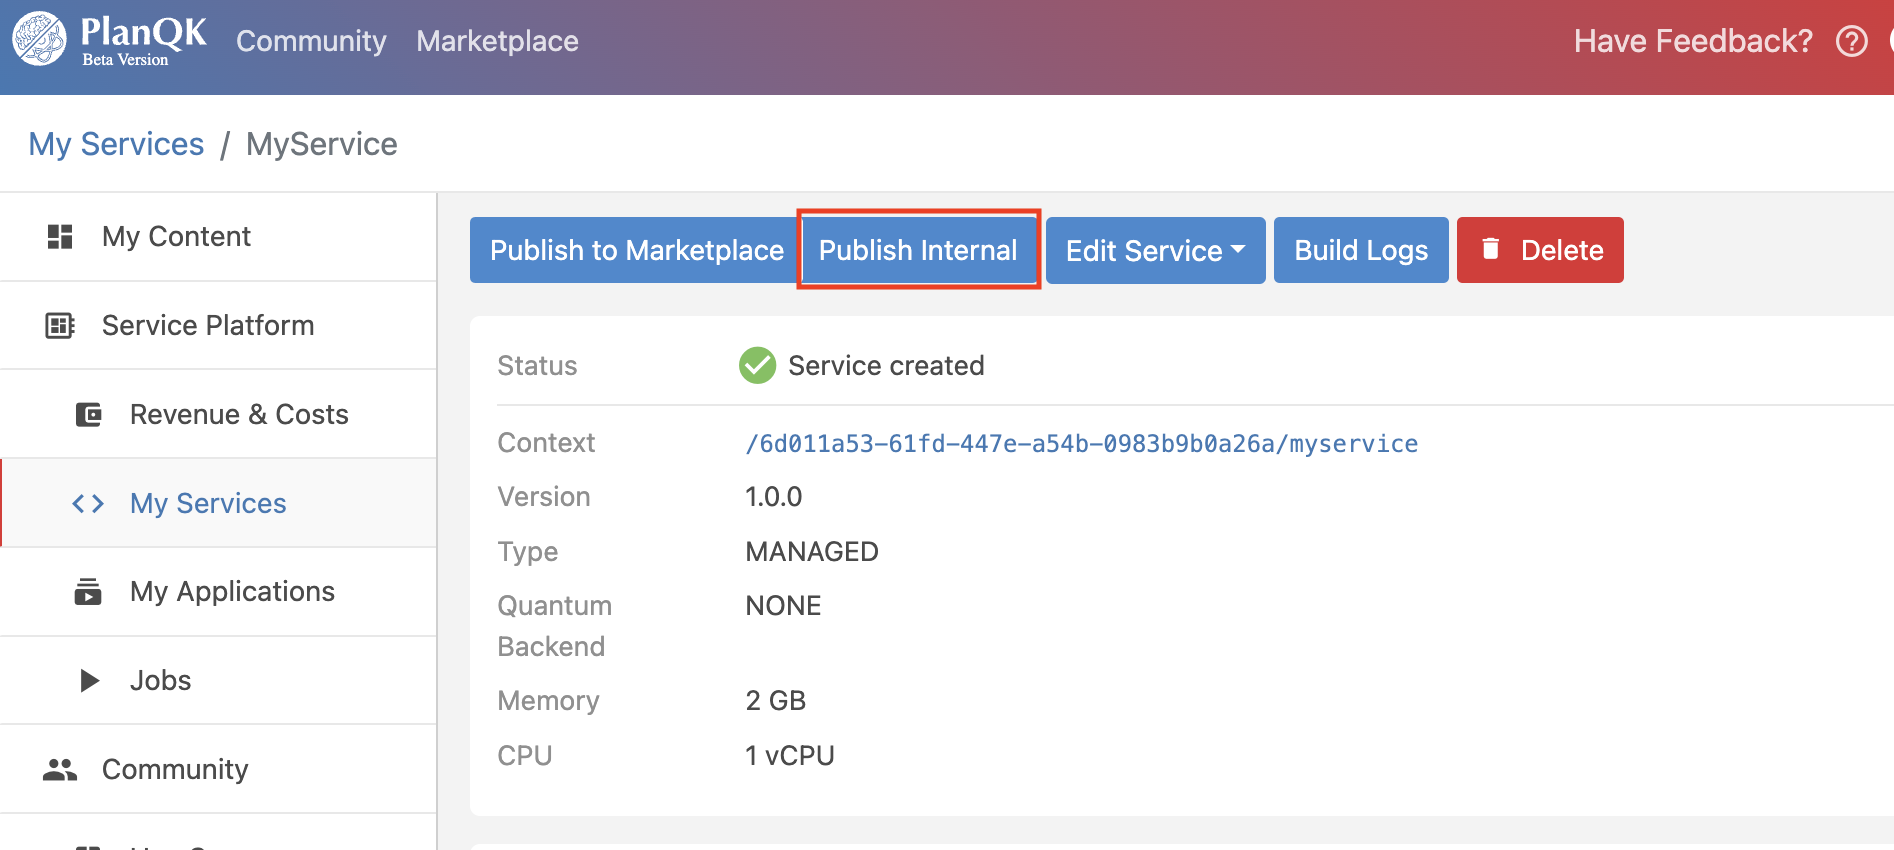
Click on the "Publish Internal" button.
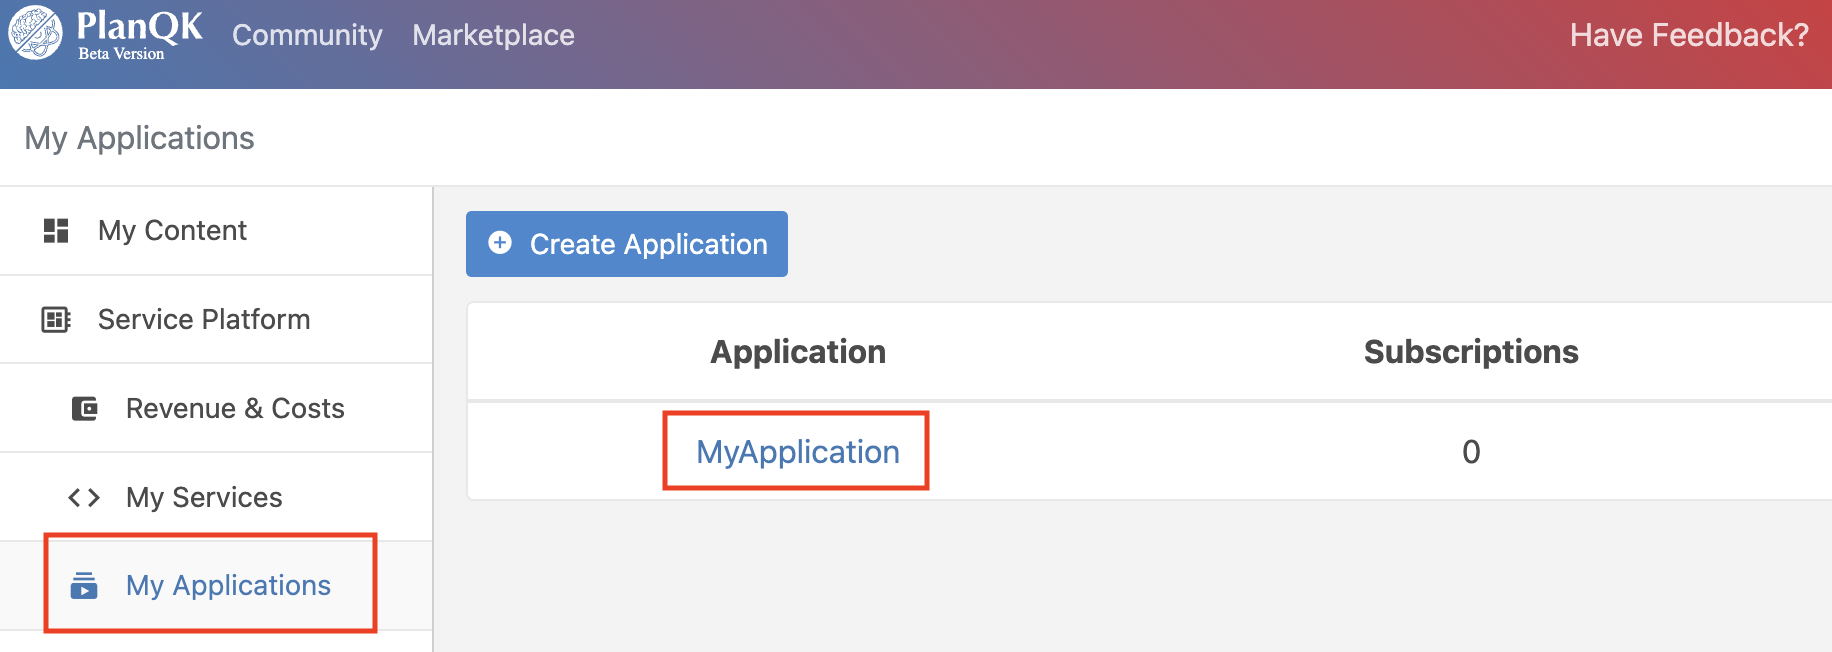
Navigate to the details page of your application.
Press the "Subscribe to Service" button.
A dialog box appears in which you have to select the published service.
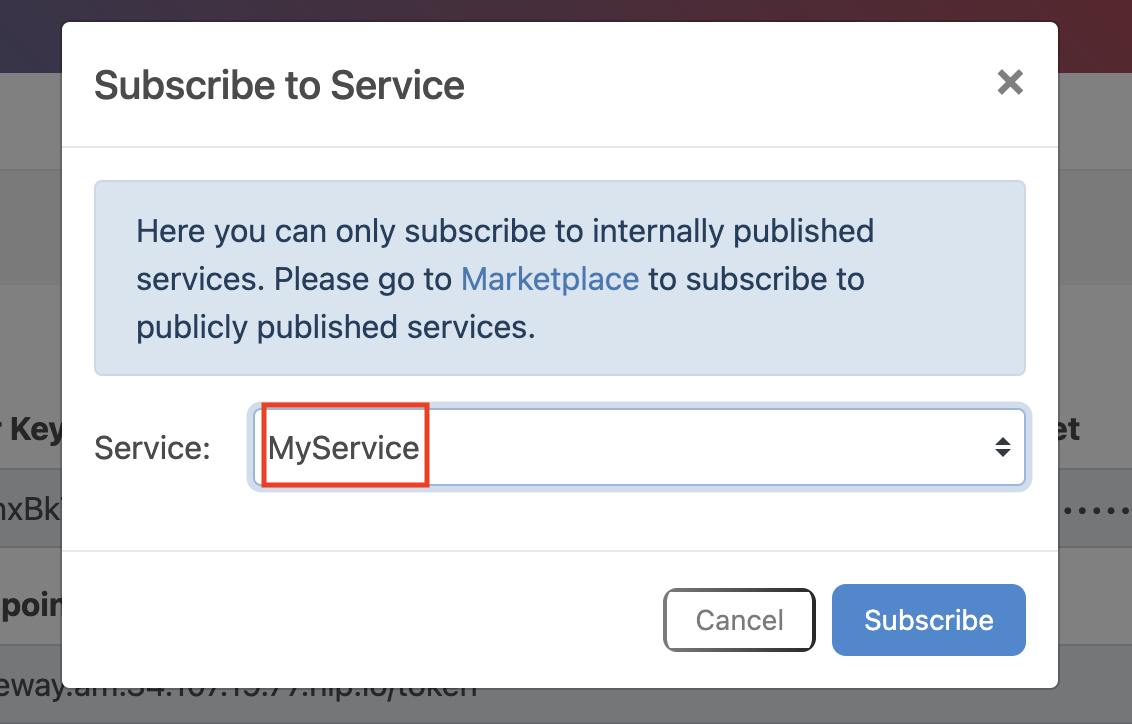
After you have selected the correct service, click on the "Subscribe" button in the dialog box.
# Subscribe to a PlanQK Service Published on the PlanQK Marketplace
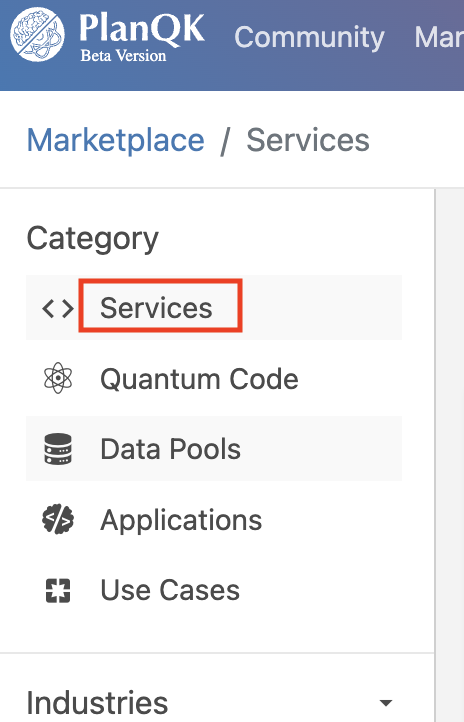
Click on "Marketplace" on the top navigation.

Select "Services" from the left navigation menu.
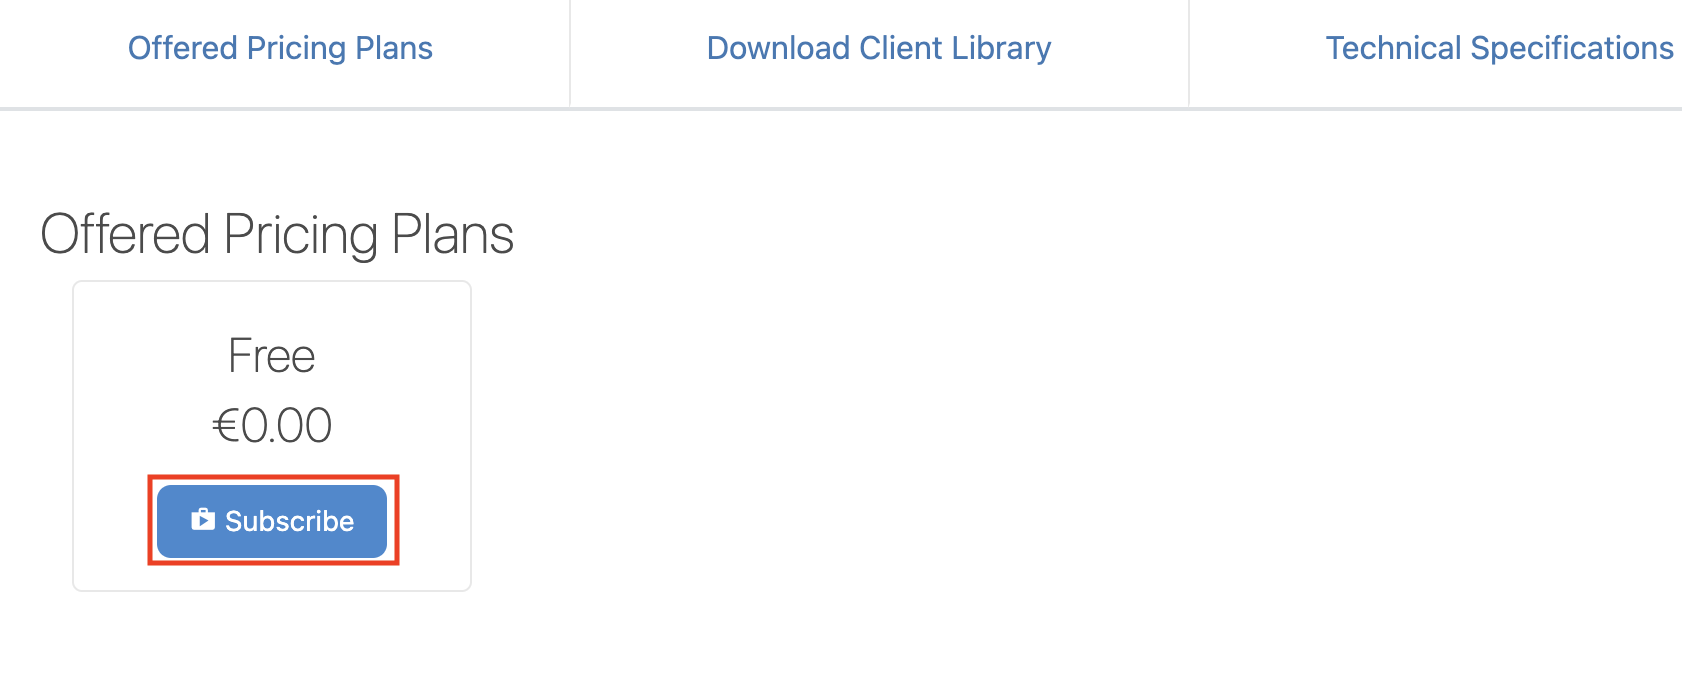
Select a service you want to subscribe to and navigate to its details page.
Select the pricing plan that suits you and click on the "Subscribe" button of the respective pricing plan. A dialog box will show up.
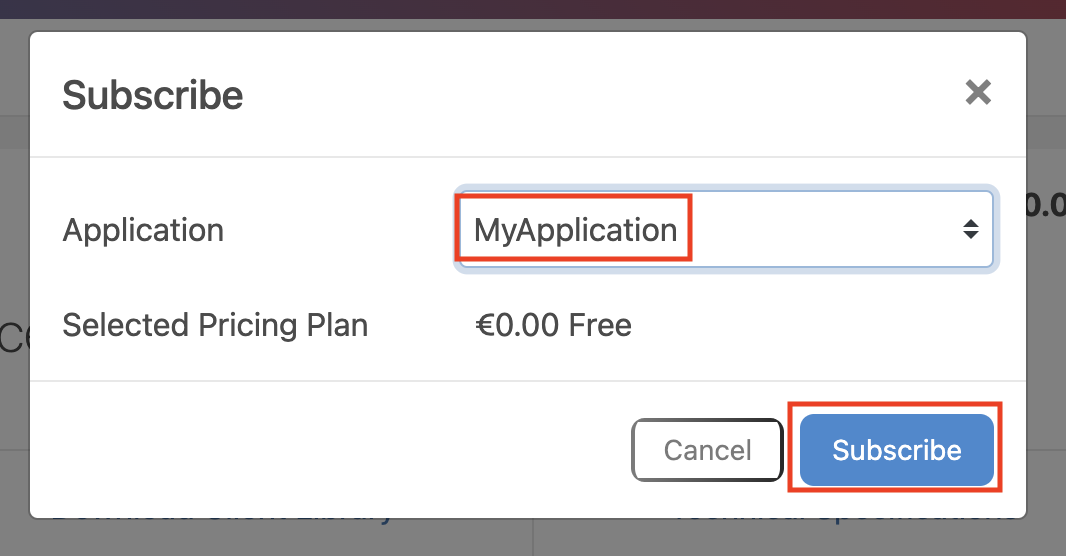
Finally, select your application and press the "Subscribe" button.
# Execute a Subscribed PlanQK Service
To execute a service, you need to provide the following information:
- Service Endpoint URL: Can be obtained from the subscriptions section of your application that subscribed to the service
- Authorization Bearer Token: Can be obtained from platform's token endpoint as described in the previous section
- Header Fields:
Content-TypeandAcceptare both set toapplication/json - Input Data: Either passed as value or as data pool reference
- Parameters: Either passed as value or as data pool reference
The following examples shows the cURL command and how to start a service execution:
curl -X 'POST' \
  'https://gateway.am.platform.planqk.de/70b6e720-dcec-4b9b-a462-a6fdaf400bfa/myservice/1.0.0/' \
  -H 'Accept: application/json' \
  -H 'Content-Type: application/json' \
  -H 'Authorization: Bearer eyJ4NXQiOiJNell4TW1Ga09HWXdNV0kwWldObU5EY3hOR1l3WW1NNFpUQTNNV0kyTkRBelpHUXp...' \
  -d '{
    "data": {
      "values": [
        100,
        50,
      ]
    },
    "params": {
      "round_off": false
    }
  }'
2
3
4
5
6
7
8
9
10
11
12
13
14
15
16
For each call, a new service execution is created. The id of the service execution and its initial execution state is returned by the POST request. The POST above returns for instance the following result:
{
  "id": "02e0d85a-5a95-4abe-a642-1ee9a94fdf14",
  "status": "PENDING",
  "createdAt": "2022-09-19 16:45:24"
}
2
3
4
5
The execution id can be used to query the state and the result of a service execution.
# Retrieve Execution Result
Since a service execution is performed asynchronously, you need to query its state to know if its execution completed. After a service was completed you can retrieve the result. Therefore, a PlanQK Service provides dedicated endpoints to query the state of each of its executions.
The state can be retrieved by calling the endpoint GET /{id}.
The state of our example service execution with id 02e0d85a-5a95-4abe-a642-1ee9a94fdf14 can be for instance retrieved with the following request:
curl -X 'GET' \
  'https://gateway.am.platform.planqk.de/70b6e720-dcec-4b9b-a462-a6fdaf400bfa/myservice/1.0.0/02e0d85a-5a95-4abe-a642-1ee9a94fdf14' \
  -H 'Accept: application/json' \
  -H 'Authorization: Bearer ...'
2
3
4
If the execution is still running, you should get "status": "RUNNING" or "status": "PENDING".
When the execution finished successfully, you should see "status": "SUCCEEDED".
If you get either "status": "FAILED" or "status": "UNKNOWN" something went wrong.
You can retrieve the result or the cause of an error through the endpoint GET /{id}/result:
curl -X 'GET' \
  'https://gateway.am.platform.planqk.de/70b6e720-dcec-4b9b-a462-a6fdaf400bfa/myservice/1.0.0/02e0d85a-5a95-4abe-a642-1ee9a94fdf14/result' \
  -H 'Accept: application/json' \
  -H 'Authorization: Bearer ...'
2
3
4
If the service execution succeeded, the response contains the "result" property containing the response as JSON object plus an optional metadata field:
{"metadata":null,"result":{"sum":420.69}}
In case of an error the message may contain an error "code" and an error "detail" property, for example:
{
  "code": "CONNECTION_ERROR",
  "detail": "Backend host could not be found."
}
2
3
4
# Provide Input Data
Input data being processed by the service can be either passed as value or as data pool.
IMPORTANT
Currently, only JSON is supported as service input. Binary and stream data support will be added in the future.
To pass input data as value, provide the "data" object as payload of the POST request as shown in the example above.
You can pass as value for the "data" object an arbitrary key-value JSON map:
{
  "key1": val1,
  "key2": val2,
  ...
}
2
3
4
5
Input data passed by value are limited to a maximum size of 1MB. To pass larger data sets to a service, you can use data pools instead. This also enables you to easily reuse data provided by other platform users.
To pass the content of a data pool as input, specify the keyword "dataRef" instead of "data" followed by a colon and a JSON object referencing the file within the data pool.
Therefore, the object specifies the id of the data pool "dataPoolId", the id of the data source descriptor "dataSourceDescriptorId" and the id of the actual file "fileId".
Here the call of our example service with a data pool reference is shown:
curl -X 'POST' \
  'https://gateway.am.platform.planqk.de/70b6e720-dcec-4b9b-a462-a6fdaf400bfa/myservice/1.0.0/' \
  ...
  -d '{
    "dataRef": {
      "dataPoolId": "2a7d74a6-0bb5-400a-8a0c-7125aef5613e",
      "dataSourceDescriptorId": "040cdf8f-a2c8-449d-a534-498c597b124c",
      "fileId": "c52e7fa2-d971-4249-b4b4-aecedf8e3068"
    },
    "params": {...}
  }'
2
3
4
5
6
7
8
9
10
11
To obtain the data pool file reference object perform the following steps:
- Go to your data pool in the data pool (opens new window) section.
- Click the "Copy Text" button of the respective file to copy the file reference object to your clipboard.
# Provide Input Parameters
Input parameters provide additional (meta-)information for the execution such as the number of shots, the number of variational layers for a circuit or the name of the backend. Like input data, they can be either provided as value or as data pool.
To provide them as value use the "params" key with an arbitrary key-value JSON map as value as shown in the example at the beginning of this section.
Use the key "paramsRef" to reference the parameter value data pool content.
This you can reuse your parameter settings for different service executions.
curl -X 'POST' \
  'https://gateway.am.platform.planqk.de/70b6e720-dcec-4b9b-a462-a6fdaf400bfa/myservice/1.0.0/' \
  ...
  -d '{
    "data": {...},
    "paramsRef": {
      "dataPoolId": "e06c3254-34d1-11ed-a261-0242ac120002",
      "dataSourceDescriptorId": "040cdf8f-a2c8-449d-a534-498c597b124c",
      "fileId": "c52e7fa2-d971-4249-b4b4-aecedf8e3068"
    }
  }'
2
3
4
5
6
7
8
9
10
11
# Using Generated API Clients
WARNING
This section still needs to be revised. If you have any questions, please contact support@planqk.de by email.
You can interact with a PlanQK Service through HTTP (see above) or using a generated API client for Java, Python, or JavaScript. You can download the clients from the respective service details page in the PlanQK Marketplace (opens new window).
Once you download the client, extract and integrate it into your project.