Appearance
Create a Service
This step-by-step guide will teach you how to create a service based on your implementation. You will learn how to initialize a Docker Python project using the CLI, push its code to an implementation and create a managed service based on it. This guide assumes that you already know the basics about managed services and implementations.
Requirements
This guide assumes that you have the latest version of the CLI installed on your machine. If not you can install it by following the instructions in the CLI reference.
Initialize a Docker Python Starter Project
The CLI provides you with a set of starter templates to help you get started quickly with your quantum services. You can see the full list of available templates in our GitLab repository. In this tutorial we will use the Docker Python Starter template to create a new service based on custom Docker containers. To initialize the project, run the following command in your terminal:
bash
planqk initIn the interactive prompt:
- Choose a name, e.g.,
my-service. - Select
Docker Starteras starter template. - Choose your resource configuration, e.g., accept the defaults.
After the initialization, you will find a new folder with the name of your service in the current directory. For sake of simplicity, we will not get into details of the generated code in this tutorial. You can check out the README file in the generated project for more information.
Create an implementation and push the code
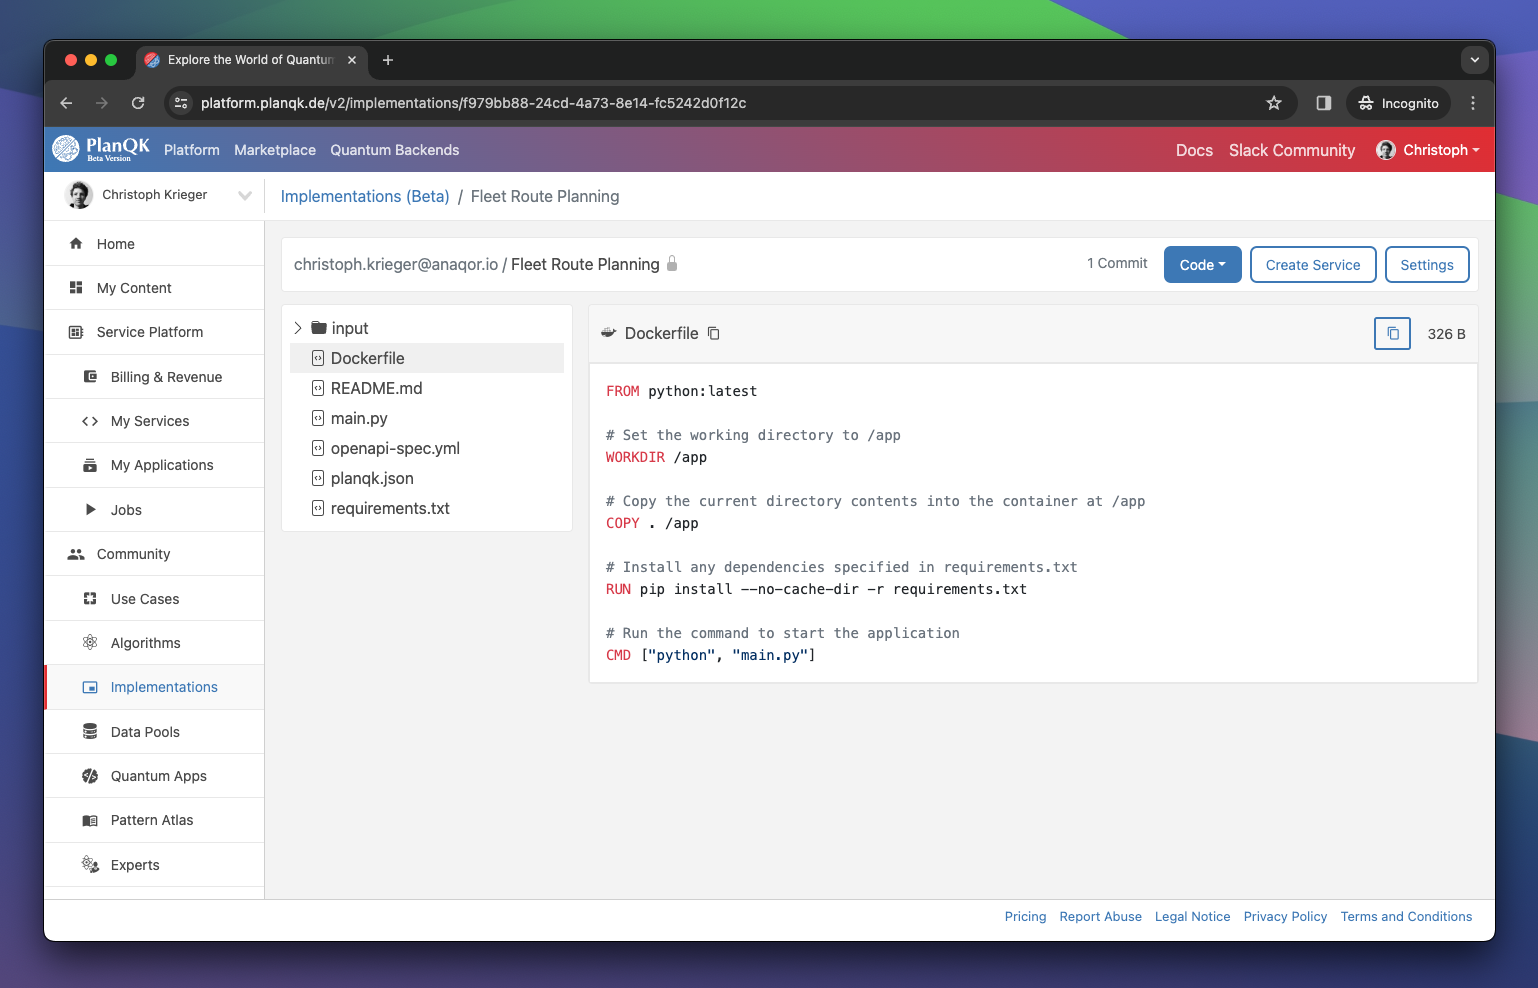
Next, create a new Implementation and upload the code of your service. You can follow the steps in the Getting Started guide. After refreshing your implementation page, you should see all your added files. Similar to the screenshot below.
Create a service based on the implementation
As your service code includes a Dockerfile, you should see the "Create Service" button in the action bar of your implementation page. Click on the button to create a new service based on your implementation. Navigate to the Services page to see your new service. Congratulations, you have successfully created a service based on your implementation 🎉.