Appearance
Getting started
This beginner-friendly guide will teach you the basic skills you need to create and manage your first implementation.
Requirements
This guide assumes that you have Git installed on your machine. If you do not have git available as a CLI command yet, you will need to install Git for your platform.
Creating an implementation
To create a new Implementation, visit the Create Implementation page. Enter a name for your implementation and click on the "Create" button.
After creating the implementation, you should see a page like this:
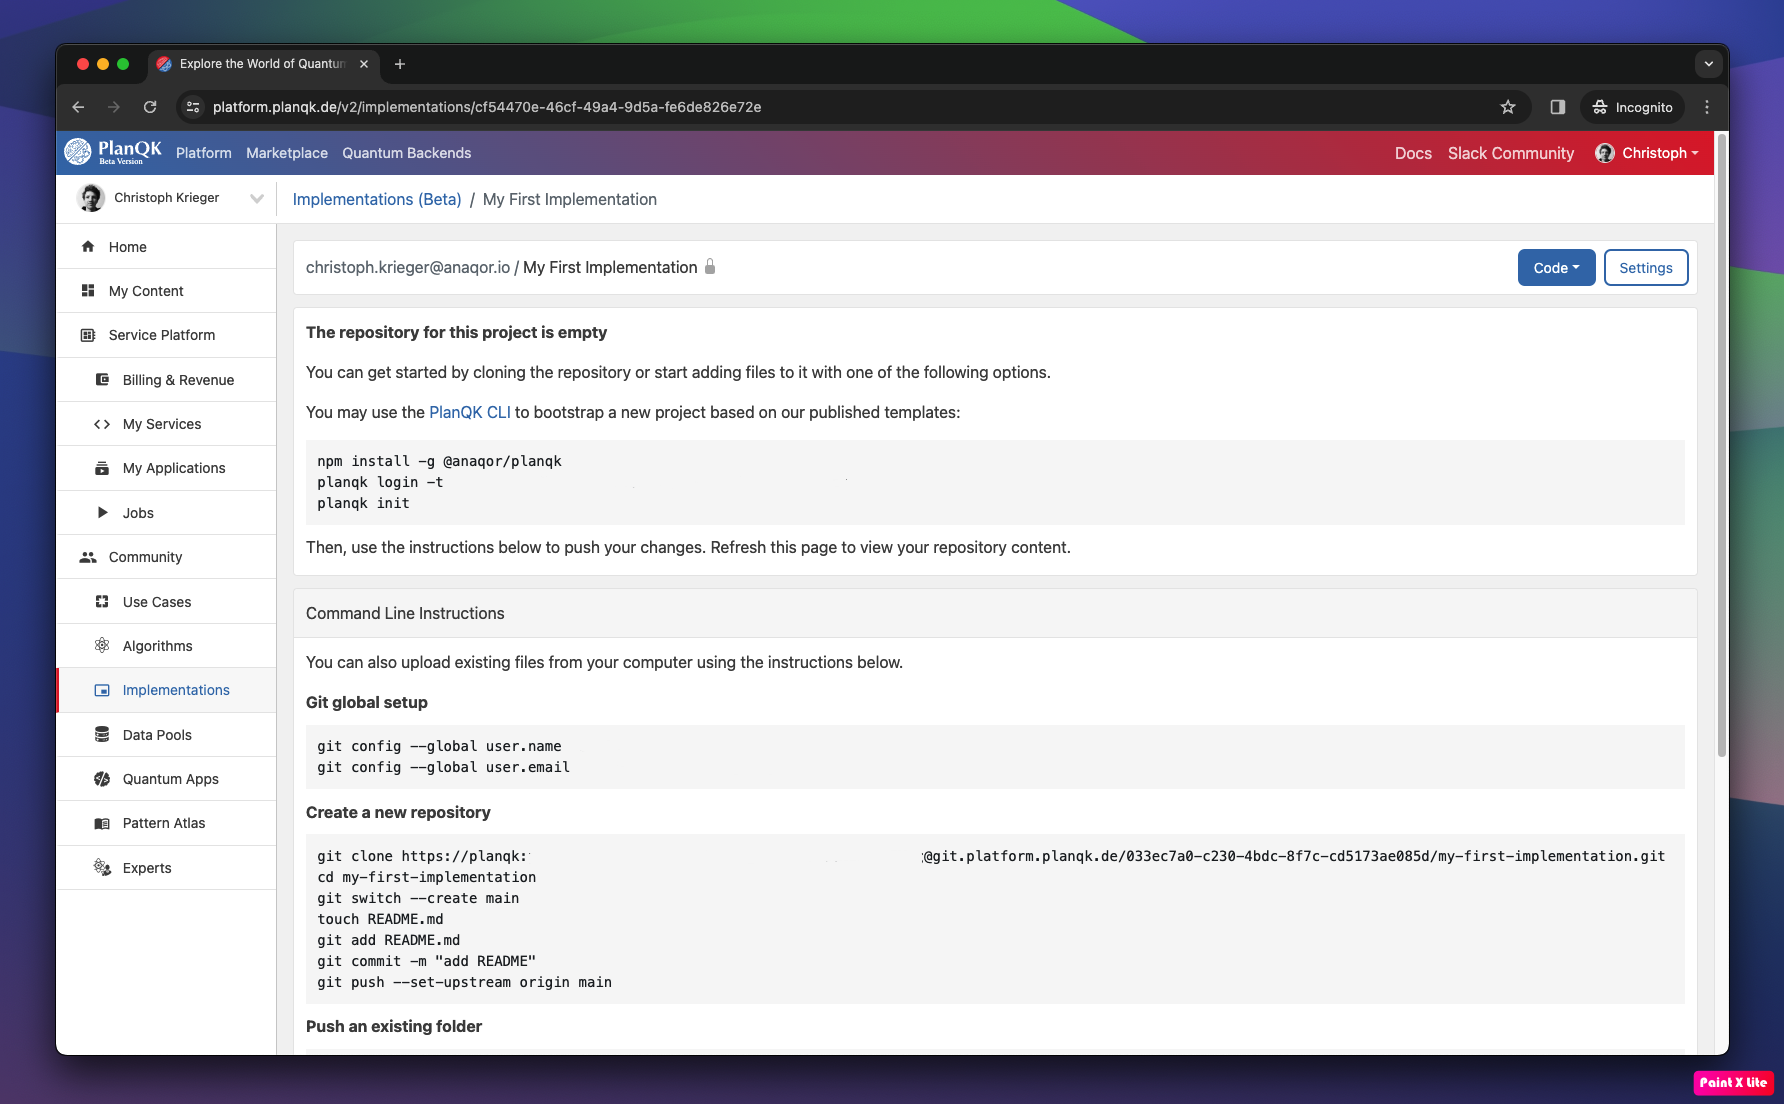
Note that the lock icon indicates that the implementation is private. Learn how to make your implementation public in the settings section.
Moreover, the empty implementation page provides you a set of command line instructions to clone the repository and start working on your implementation. In the following we will go through the steps to clone the repository and add a README file.
Cloning the repository locally
Downloading the implementation to your local machine is called cloning. You can clone the implementation and navigate to it using the following commands:
bash
git clone https://planqk:<personal-access-token>@repository.hub.kipu-quantum.com/<your-user-id>/<implementation-name>.git
cd <implementation-name>
Best just copy the clone command from the command line instructions on the implementation page. This command already contains the correct URL to clone the repository.
Authentication
The platform Git Server supports HTTPS with basic authentication. You can authenticate by providing your personal access token in the Git URL. You can clone any repository that you have at least 'Viewer' permissions for. Learn more about permissions in the settings section.
Add a README
Now let's add a README file to your repository that provides information about your implementation. Feel free to add some markdown content to the README file.
bash
touch README.mdPush your changes
You can use Git to save new files and any changes to already existing files as a bundle of changes called a commit, which can be thought of as a “revision” to your project. In order to sync the new commit with the platform, you then push the commit. Push your code using the following commands:
bash
## Create any file you like and add some content! Then...
git add .
git commit -m "add README"
git push --set-upstream origin main
That's it! After refreshing your implementation page, you will see all your recently added files. For example in the screenshot below the user added its implementation for a Managed Service.
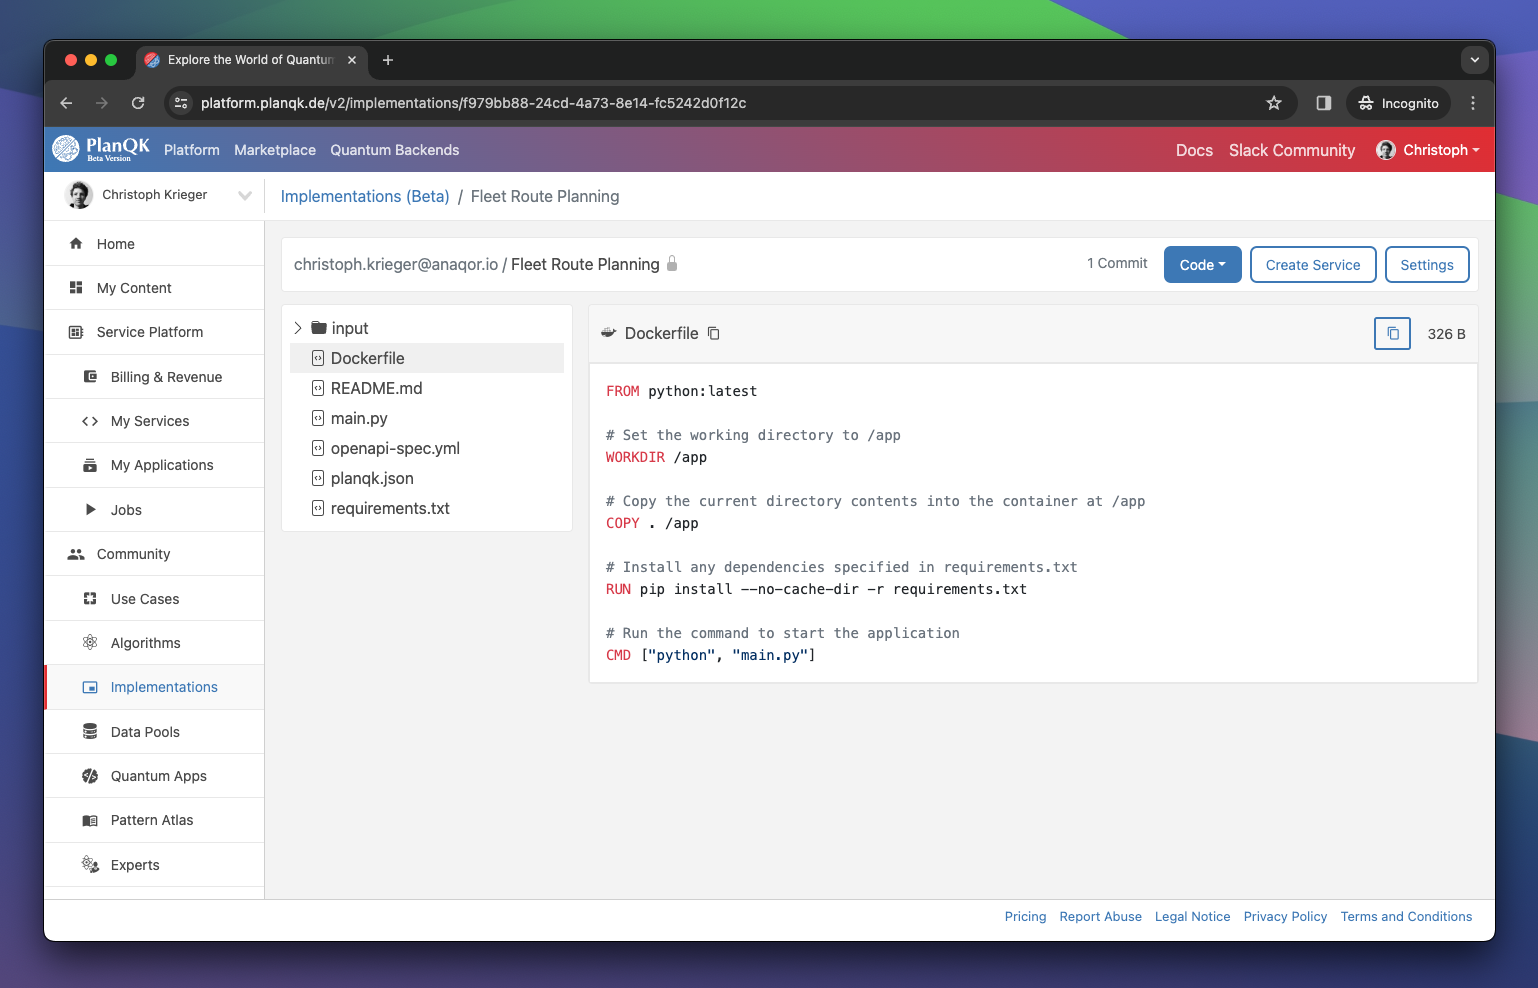
Note that one of the files is a Dockerfile. In case a Dockerfile is present in the implementation a "Create Service" button is available in the UI to create a Service based on the implementation.
What's next?
- Learn how to manage permissions.
- Learn how to share your implementation with the community.
- Learn how to create a Service.